How to Create Your Own Colored Rice for Sensory Bins
Around here, we loveeee our sensory bins. There’s only about a gazillion benefits to them (promotes fine motor skills, encourages exploration, supports emotional regulation, etc.), but the number one benefit, the reason that we do sensory bins all the time, is that my children will entertain themselves for a SOLID amount of time so I can sit down or drink my coffee while it’s hot. Sometimes I even get to sit down AND drink my coffee at the same time! One of the most popular and versatile materials for sensory bins is colored rice. Its vibrant hues, soft texture, and ability to be customized for different themes make it a favorite choice for toddlers and preschoolers. If you want to take your sensory bin game up a notch, creating your own colored rice is super easy and budget-friendly!
Materials You’ll Need:
- White uncooked rice (you can use as much or as little as you need)
- Liquid food coloring (or gel food coloring for more vibrant hues)
- White vinegar (prevents sticking and acts as a carrier for the color)
- Ziplock bags (or large resealable bags)
- Baking sheet or tray (for drying)
- Gloves (optional but helpful to avoid staining your hands)
Step-by-Step Guide to Making Colored Rice
1. Prepare Your Work Area
Start by setting up a workspace that’s easy to clean (you might want to cover it with a plastic tablecloth or old newspaper). If you’re worried about the mess, consider doing this project outside or on a surface that can handle a bit of color. Making colored rice is extremely toddler friendly, so don’t wait until it’s done and in a sensory bin to get them involved, have them help you make it as well!
2. Measure the Rice
Decide how much rice you need for your sensory bin. You can always make a big batch or create smaller portions depending on the size of the bin. For every cup of rice, you’ll use about 1 tablespoon of vinegar and 3-4 drops food coloring.
3. Add Color to Rice
Place the rice into a Ziplock bag. Pour in the vinegar — this helps the food coloring stick to the rice and dries quickly. Add food coloring, depending on how intense you want the color to be. Seal the bag and shake it up well, making sure all the rice is coated in the dye. You can also use multiple bags if you want to create several colors at once!
4. Let It Dry
Once the rice is well-coated, spread it out in an even layer on a baking sheet or tray. Let it air dry for 20-30 minutes. You can also speed up the drying process by gently tossing the rice every 10 minutes, or you can leave it overnight to fully dry. If you’re lazy and/or busy like me, it honestly also works to just open up the Ziploc bags and let it dry in there.
5. Repeat the Process
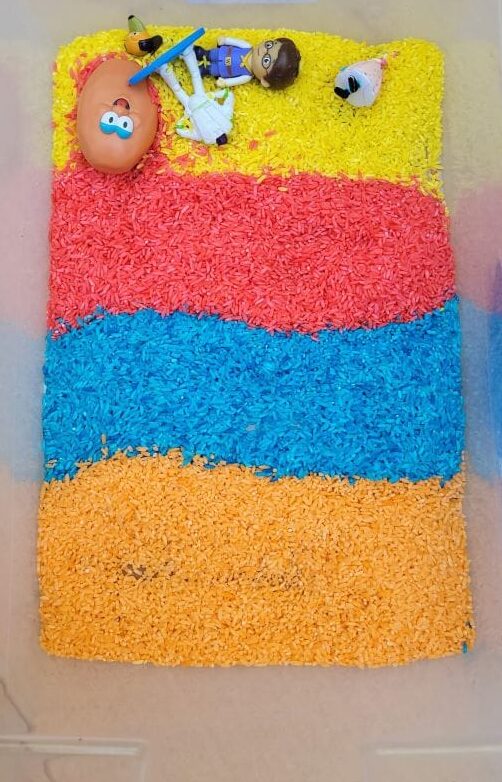
Repeat the process for as many colors as you like! You can make rainbow-colored rice, create a theme (like a “beach” with blue, brown, and white rice), or just go with your child’s favorite colors.
6. Set Up Your Sensory Bin
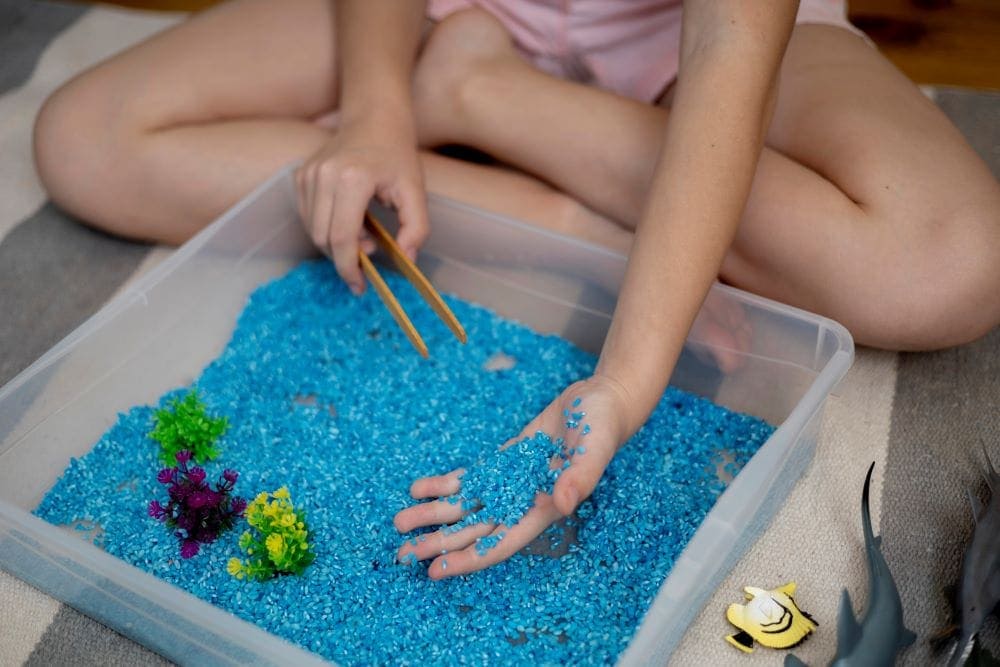
Once your rice is dry, you’re ready to fill your sensory bin! Pour the colored rice into the bin and mix and match colors to create a visually exciting sensory experience. Add small toys, scoops, or cups for little ones to explore. The soft rice is perfect for pouring, sifting, and scooping, and it’s sure to provide hours of entertainment.
Benefits of Colored Rice in Sensory Bins
Colored rice isn’t just a fun way to add color and texture to your sensory bins — it also offers a ton of benefits for young children:
- Fine Motor Skills: Toddlers will practice their hand-eye coordination and fine motor skills as they scoop, pour, and manipulate the rice.
- Creativity and Imagination: By adding small figurines, vehicles, or other items, kids can use their imagination to create stories or play pretend games.
- Sensory Exploration: The different colors and textures of the rice engage multiple senses, promoting tactile exploration and sensory processing.
- Color Recognition: For younger children, this is a great way to reinforce learning about colors in a hands-on, interactive way.
- Supports Emotional Regulation: Sensory play can be calming for children, helping them manage emotions like anxiety or frustration. Repetitive actions in a sensory bin, like scooping or stirring, can have a soothing effect.
Tips for Success:
- Storage: If you have leftover rice, store it in an airtight container or resealable bag for future play sessions.
- Non-Toxic Options: If you’re concerned about the rice being edible (especially for younger toddlers), use non-toxic food coloring or consider dying the rice with natural ingredients like beet juice or turmeric for a more natural option.
- Safety First: Always supervise your child when playing with sensory materials, especially if they’re still in the mouthing stage.
Creating your own colored rice for sensory bins is a fun and simple way to provide sensory-rich play for toddlers and young kids. The best part? It’s incredibly customizable! Whether you’re looking for rainbow-colored rice or a specific theme to match a season or holiday, you can easily create something exciting and unique to stimulate your child’s creativity and motor skills. So, grab some rice, food coloring, and a Ziplock bag, and get ready to drink your coffee in peace – I mean, watch your little ones have a blast exploring their colorful, sensory-filled world!
Have fun crafting your colored rice, and let the sensory play begin! 🌈


